
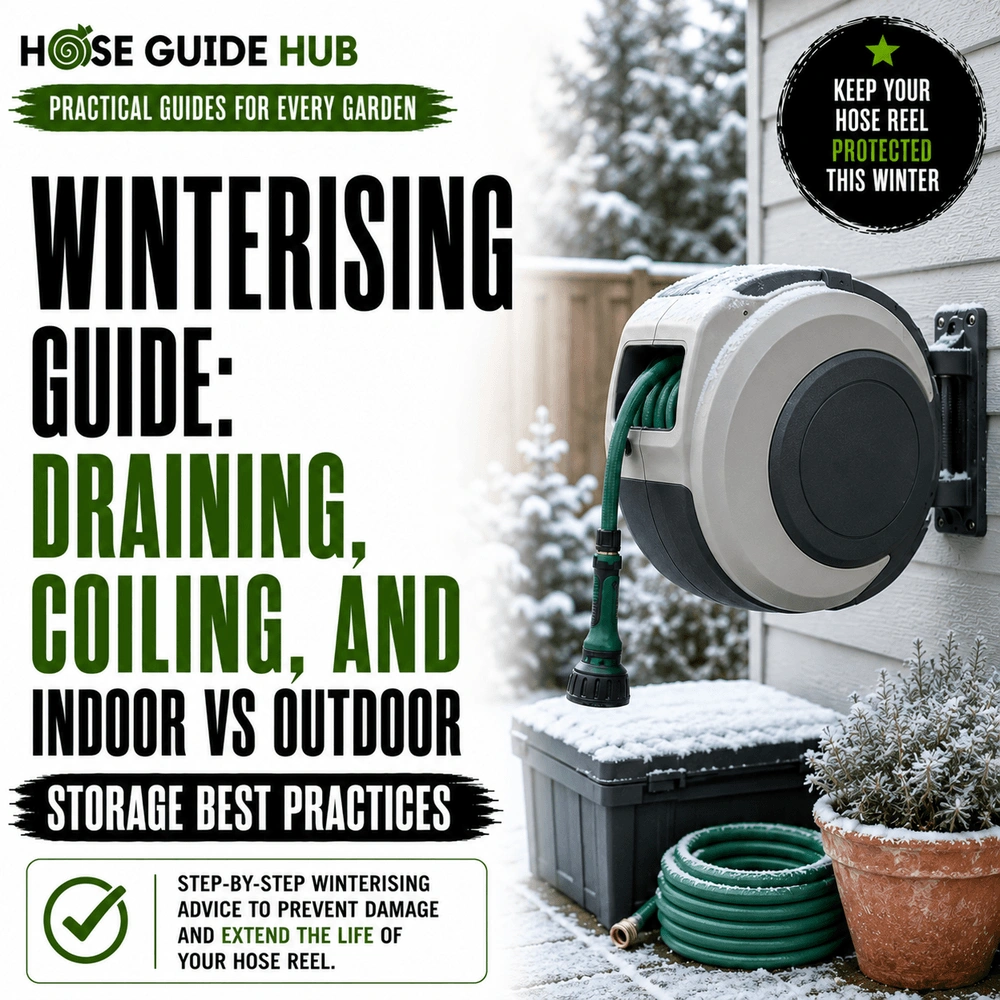
Winterising Guide: Draining, Coiling, And Indoor vs Outdoor Storage Best Practices
Every fall, garden hoses split, go stiff, or crack at the fittings for one simple reason: water left inside them freezes and expands by roughly nine percent, and the hose wall is the only thing standing in the way. Learning how to store garden hose in winter properly is a fifteen-minute job that saves you from buying a new hose every spring, and it can save your outdoor spigot too, since a hose left attached and full of ice is a common cause of burst pipes. This guide covers draining, coiling, and choosing between indoor and outdoor storage, along with the mistakes that quietly wreck hoses long before the first hard freeze even hits.
Disclosure: As an Amazon Associate, we earn from qualifying purchases made through links on this site. Learn more.
Why Cold Weather Destroys Garden Hoses
Water is one of the few substances that expands when it freezes instead of contracting. Trapped inside a closed loop of hose, that expansion has nowhere to go, so it pushes outward against the vinyl or rubber wall until something gives. Sometimes that’s a hairline crack you won’t notice until spring, when water sprays out sideways the moment you turn the tap on. Other times it’s the brass or plastic coupling at the end, which is often the weakest point in the whole assembly.
Cold does damage even without ice forming. Vinyl hoses stiffen and lose flexibility below about 40°F, and forcing a stiff hose into a tight coil at that point is how small stress cracks start, long before any water actually freezes inside it. Rubber and rubber-hybrid hoses tolerate cold better, but they’re not immune, and repeated freeze-thaw cycles over a winter will wear down even a heavy-duty hose faster than several years of normal summer use.
Step 1: Draining Your Hose Completely
Disconnect Everything First
Start at the spigot, not the nozzle. Turn off the water supply, then detach the hose from the spigot end before you deal with the nozzle or sprayer attachment on the other end. If your home has an interior shutoff valve for the outdoor spigot (common in colder regions), close that too, then open the spigot briefly to release any pressure left in the line. Remove nozzles, sprayers, and quick-connect fittings separately; they trap small pockets of water that a full hose drain won’t reach.
The Gravity Drain Method
This is the simplest approach and works for the vast majority of hoses. Stretch the hose out in as straight a line as you can manage, on a slope if one is available. Lift the end that was connected to the spigot and walk toward the other end, holding the hose up as you go so water runs downhill and out. Draping the hose over a fence, deck railing, or stair rail and letting gravity do the work overnight is just as effective if you’d rather not walk the length of it yourself.
Speed It Up With Compressed Air
For long hoses, or for soaker and drip lines with narrow internal channels, a shop vac set to blow or a compressor set to low pressure (under 40 psi) will clear out water that gravity alone leaves behind. Feed air in from the spigot end and let it push water out the other end in short bursts rather than one continuous blast, which reduces strain on the fittings. This step is optional for a standard garden hose but genuinely useful for soaker hoses, since their small perforations hold onto water through surface tension alone.
Step 2: Coiling Without Creating Kinks or Cracks
The Over-Under Coil
A hose has a natural twist memory, and coiling it the same direction every time trains that twist into permanent kinks. The over-under method fixes this: form the first loop normally, then for the next loop, flip your wrist so the hose twists the opposite way as it goes into the coil. Alternating the direction of each loop cancels out the twist instead of building it up, and the hose lies flatter and untangles faster the next time you unroll it. This is the same coiling technique cable and rope riggers use, and it works just as well on garden hose.
Coil Size and Diameter Matter
Coiling a hose too tightly creates the same stress that cold temperatures do, and the two combined are worse than either alone. Aim for loops roughly 12 to 18 inches across for a standard 5/8-inch hose; thicker or heavy-duty hoses need slightly larger loops to avoid crimping at the bends. If you’re using a hose reel, check that the reel drum is wide enough that the hose isn’t forced into a curl tighter than it would naturally sit on its own.
Indoor vs Outdoor Storage: Which Should You Choose
Once a hose is drained and coiled, where you keep it for the winter matters almost as much as the draining itself. Indoor storage gives the most complete protection, but it isn’t always practical, and a lot of outdoor options hold up fine in milder climates. Here’s how the two compare directly.
| Factor | Indoor storage | Outdoor storage |
| Freeze protection | Complete, as long as the space stays above freezing | Depends on insulation; open air offers none |
| UV exposure | None, so the outer jacket stays flexible longer | High if left uncovered, which speeds up cracking |
| Pest and rodent risk | Low in sealed containers or bins | Higher; mice chew vinyl for nesting material |
| Space required | Needs a shed, garage, basement, or closet | Minimal; a wall mount or pot takes little room |
| Best suited for | Regions with hard freezes lasting weeks or months | Mild climates with occasional light frost only |
When Indoor Storage Makes Sense
If your winters bring hard freezes that last for weeks at a stretch, indoor storage is worth the extra effort. A garage, basement, mudroom, or even a large closet all work, as long as the space doesn’t drop below freezing itself. Coil the hose and set it flat in a plastic bin, on a shelf, or hung on a hook well clear of the floor, away from any heat source like a furnace or water heater that could dry the material out and make it brittle in a different way.
When Outdoor Storage Still Works
In regions with mild winters or only occasional overnight frost, outdoor storage is fine as long as it’s insulated and covered. A hose pot with a lid, an insulated storage box, or even a heavy tarp over a coiled hose tucked against a sheltered exterior wall will get you through a light freeze. Uncovered outdoor storage during a sustained hard freeze is the one combination to avoid; it’s the scenario most likely to end with a cracked hose by January.
Storage Gear Worth Considering
Hose Reels
A wall-mounted or freestanding reel keeps a hose off the ground, coiled at a consistent diameter, and easy to move indoors as a single unit when the weather turns. Look for a reel with a wide enough drum that it doesn’t force tight loops, and consider one with a hinged cover if it’s going to live outside.
Decorative Hose Pots
Hose pots hide a coiled hose inside a container that also functions as a garden feature. Ceramic and resin versions handle mild cold reasonably well, but true stoneware or unglazed terracotta pots can crack in a hard freeze the same way a hose can, so treat the pot itself as something that also needs winter protection if temperatures regularly drop below freezing where you live.
Wall Mounts and Hangers
A simple wall-mounted hook or bracket works well for a hose that’s going straight into a garage or shed for the winter. It keeps the coil off a damp floor, which matters because sitting in standing water is almost as hard on a hose as freezing is.
Temperature Guide: When to Start Winterising
Timing matters more than most people expect. Waiting for the first snowfall is usually too late, since damaging cold can arrive well before winter officially starts. Use overnight forecast temperatures as your trigger instead of the calendar.
| Overnight forecast | What to do |
| Below 45°F (7°C) | Start planning. Drain hoses after the last watering of the day so nothing sits in the line overnight. |
| Below 36°F (2°C) | Disconnect every hose from every spigot. A single cold snap this close to freezing can still catch trapped water. |
| 32°F (0°C) or lower | Hoses should already be drained, coiled, and in storage. Also shut off and drain any interior shutoff valve feeding outdoor spigots. |
| Sustained freeze (days or weeks) | Confirm hoses are indoors or in an insulated container. Uncovered outdoor storage is no longer reliable at this point. |
Soaker Hoses and Drip Irrigation Need Different Care
Soaker hoses and drip lines are more vulnerable than a standard garden hose, not less. Their walls are thinner, and the small perforations that let water seep out also let air in unevenly during a drain, which means gravity alone often isn’t enough. Blow these lines out with low-pressure compressed air after gravity draining, and avoid coiling them as tightly as a regular hose, since the material around each perforation is already a weak point before winter even starts. Store them indoors where possible; a cracked drip line is far harder to spot than a cracked garden hose because the damage often doesn’t show until you’re running the system again in spring.
Checking Your Hose Before First Spring Use
Before reconnecting a hose in spring, run water through it at low pressure while it’s stretched out somewhere you can watch the full length, rather than turning the spigot on full and walking away. Look for fine sprays along the body, which indicate hairline cracks from the winter, and check the washer inside the female fitting; rubber washers dry out and crack in storage even without any water damage to the hose itself, and they’re a five-second, low-cost fix compared with replacing the whole hose. Flex the coupling threads by hand too. If they feel gritty or don’t turn smoothly, a light coat of plumber’s tape or a fitting replacement now is cheaper than a leak later.
Common Winterising Mistakes to Avoid
- Leaving the hose connected to the spigot over winter, which traps water at the coupling even if the rest of the hose is drained.
- Coiling a cold, stiff hose immediately after bringing it in from a frosty morning instead of letting it warm up and regain flexibility first.
- Storing hoses on a concrete garage floor all winter, where damp cold seeps up through the coil from underneath.
- Assuming a “frost-free” or “freeze-proof” spigot means the hose attached to it is also protected. It isn’t; the hose itself has no freeze protection at all.
- Skipping soaker hoses and drip lines because they seem less important than the main garden hose. Their thinner walls make them more likely to crack, not less.
- Waiting until the first freeze warning to start, rather than treating it as routine fall maintenance done alongside other outdoor shutdown tasks.
Quick Winterising Checklist
Knowing how to store garden hose in winter properly is important. Here is a quick checklist:
- Turn off the water supply and disconnect the hose from the spigot.
- Remove nozzles, sprayers, and quick-connect attachments.
- Drain fully using the gravity method, or compressed air for long or narrow-channel hoses.
- Coil using the over-under method in loops around 12 to 18 inches across.
- Choose indoor storage for hard-freeze climates; insulated, covered outdoor storage for milder ones.
- Keep the coiled hose off cold concrete and away from direct heat sources.
- In spring, test at low pressure and check washers and coupling threads before full use.
See our post on best hose timer for gardens.