
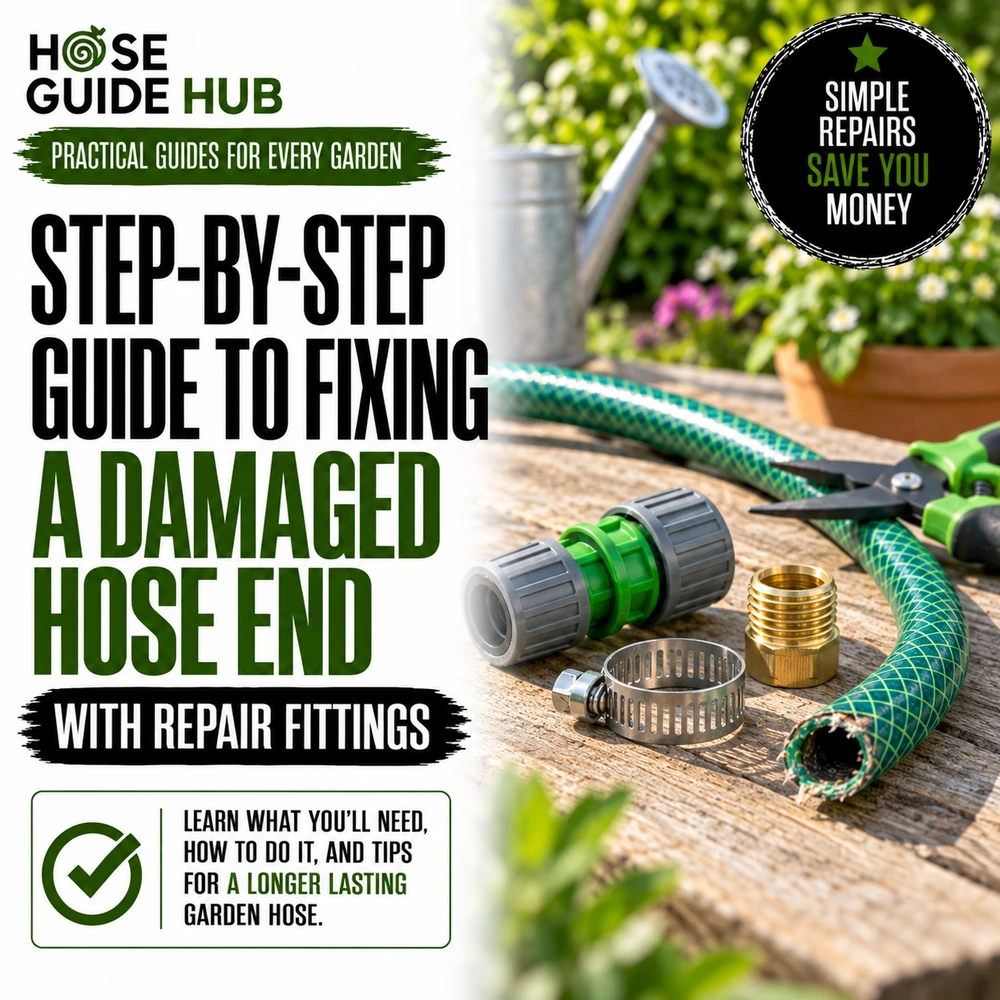
Step-by-Step Guide to Fixing a Damaged Hose End With Repair Fittings
A hose that sprays sideways out of a cracked coupling, or won’t hold a fitting no matter how hard you crank it, isn’t dead. Nine times out of ten the tubing running the length of it is completely fine. The damage almost always lives in the last few inches, right where the fitting connects. That’s exactly the kind of problem a hose end repair fitting was built to solve. Cut off the wrecked section, slide on a new fitting, tighten a clamp, and you’re back in business for the price of a coffee instead of a whole new 75 foot hose.
This guide covers the entire repair from diagnosis to pressure test, walks through the fitting types worth knowing, flags the mistakes that sink most first attempts, and tells you when a hose has actually reached the end of the road.
Disclosure: As an Amazon Associate, we earn from qualifying purchases made through links on this site. Learn more.
Quick Answer
Cut the hose at least an inch past the damage with a square cut, soak vinyl ends in hot water for three to five minutes, work the barbed or crimp fitting in until it sits flush, then clamp with two stainless steel clamps tightened snug plus a quarter turn. A repair fitting costs a few dollars against twenty to sixty dollars or more for a new hose, and a well-clamped repair typically lasts one to three seasons of normal use.
Why Do Hose Ends Fail Before the Rest of the Hose Does?
Stress concentrates at the ends of a hose. Every time you drag it across the yard, wrap it around a reel, or yank it loose from a nozzle that’s seized up, the connection point takes the hit. The middle of a garden hose can outlast three sets of fittings if it’s stored properly, which is why replacing the whole thing over one bad end rarely makes sense.
- Sunlight breaks down rubber and vinyl fastest right where the hose meets a metal or plastic coupling, since that section usually sits exposed on a hook or reel instead of coiled in shade.
- A hard freeze cracks the material at the fitting when water trapped inside expands, and this is the single most common cause of split ends in colder climates.
- Cross-threading during a rushed connection strips threads or splits the collar in seconds, and it happens more often in the dark or with cold hands than most people admit.
- Lawn mowers, car tires, and foot traffic crush hose ends more than the middle simply because that’s where the hose sits, coiled near a spigot or a pressure washer.
- Cheap stamped fittings pit and corrode long before the hose material itself gives out, especially on hoses left connected to an outdoor spigot all season.
What Do You Need Before You Start?
Gather these before you make a single cut. Having everything on hand keeps the hose from sitting in the sun mid-repair, which only adds to the damage you’re trying to fix.
| Item | Why you need it |
| Sharp utility knife or hose cutter | Gives a clean, square cut instead of the ragged edge scissors leave behind |
| Hose end repair fitting (barbed or crimp style) | Replaces the section you’re removing |
| Two stainless steel hose clamps | Secures the fitting so it doesn’t blow off under pressure |
| Flathead screwdriver or nut driver | Tightens the clamps evenly |
| Bucket of hot water | Softens the hose so the fitting seats without cracking the material |
| Rag or towel | Grip while you work and cleanup afterward |
| Measuring tape | Confirms you’re cutting back far enough past the damage |
Step-by-Step: Installing a Hose End Repair Fitting
Step 1: Find Where the Damage Actually Stops
Run your fingers along the last foot of hose, not just past the visible crack or split. Hairline cracks often extend further than they look, especially on vinyl. Mark the point where the material feels solid again with a strip of tape so you know exactly where to cut.
Step 2: Cut the Hose Square, Well Past the Damage
Cut at least an inch beyond your mark using a sharp blade or a dedicated hose cutter. Cut straight across, not at an angle. An angled cut leaves gaps a clamp can’t fully close, which is one of the fastest ways to end up with a repair that weeps at the seam from day one.
Step 3: Pick the Right Fitting for the Job
Match the fitting to your hose diameter first. Most residential garden hoses run 5/8 inch, though 1/2 inch and 3/4 inch versions are common enough to trip people up at the store. Then decide between barbed, crimp, or compression style based on the tools you have and how permanent you want the fix to be. The comparison table further down breaks down which fits which situation.
Step 4: Soften the Hose End
Soak the cut end in hot water for three to five minutes, or hold it under a hot tap. This step matters most for vinyl hoses, which turn brittle when cold and will crack the moment you force a barbed fitting in without warming them first. Rubber hoses benefit too, just a bit less dramatically.
Step 5: Work the Fitting Into the Hose
Twist the fitting as you push it in rather than forcing it straight down. Go slowly. If it won’t seat all the way, pull it back out and soak the hose a little longer instead of muscling it, since a torn edge here means starting over from Step 2. The fitting should sit flush against its shoulder or ridge with no gap.
Step 6: Clamp It Down Without Overtightening
Position each clamp directly over the barbed section, not past it. Tighten until it’s snug plus a quarter turn. Cranking a clamp screw past that point cuts into the hose wall and creates a brand new weak spot right next to the one you just fixed. For pressure washer lines or anything running higher PSI, use two clamps spaced slightly apart rather than doubling up in the same spot.
Step 7: Test It Before You Trust It
Turn the water on slowly and watch the clamp line for weeping before opening it all the way. Once it looks dry, run it at full pressure for a minute. If it holds, you’re done. If you see seepage, give the clamp another quarter turn and test again before assuming the repair itself has failed.
Types of Hose End Repair Fittings, Compared
Not every fitting suits every job. A quick garden hose patch and a pressure washer repair call for different hardware, and grabbing whatever’s closest on the shelf is how a lot of repairs fail within a week.
| Fitting type | Best for | Tools needed | Durability |
| Barbed clamp-on | Garden hoses, quick DIY fixes | Screwdriver only | Holds up a season or two; replace clamps if they rust |
| Crimp-style | Pressure washer and higher-pressure lines | Crimping tool (often rentable) | Close to original factory strength |
| Compression / screw-on | Rigid or reinforced hoses | Wrench | Solid, though it adds length and bulk |
| Quick-connect repair | Hoses disconnected often, irrigation setups | Hand-tighten only | Convenient, but weakest under sustained high pressure |
What Mistakes Wreck an Otherwise Good Repair?
- Cutting at an angle instead of square, which leaves gaps the clamp can’t fully close.
- Skipping the hot water soak on vinyl hoses, which causes hairline cracks the instant the fitting goes in.
- Using a single clamp on a pressure washer hose or any high-PSI application, where two clamps spaced apart hold far better.
- Overtightening the clamp screw until it bites into the hose wall, creating a second failure point right next to the fix.
- Guessing the diameter instead of measuring it, since 5/8 inch and 3/4 inch fittings look close enough to grab the wrong one off the shelf.
When Won’t a Repair Fitting Save the Hose?
A repair fitting fixes a localized problem at the end. It won’t help a hose that’s failing along its length. If you’re finding pinhole leaks scattered across several feet, if the outer layer is cracking in a web pattern when you bend it, or if the material has gone stiff and brittle with age, replace the hose. Patching multiple spots on an old one usually costs more in fittings and time than buying new, and each patch becomes its own future failure point down the line.
Reinforced or commercial-grade hoses are usually worth repairing even when the damage looks bad, since the core material often outlasts three or four sets of fittings. A cheap vinyl hose that’s already a few years old often isn’t in the same position.
How Long Should a Repair Hold Up?
A properly installed barbed or crimp fitting performs close to what a factory end does. Expect a well-clamped repair to last one to three seasons of normal garden use before the clamp needs attention, longer if the hose is stored out of direct sun and drained before freezing weather sets in. Pressure washer and irrigation lines under constant load wear fittings faster, so check those connections at the start of each season regardless of how new the repair looks.
Frequently Asked Questions
Can I repair both ends of the same hose?
Yes. There’s no rule against replacing both ends if both have failed, as long as you’re not cutting off so much length that the hose no longer reaches where you need it.
What diameter hose end repair fitting do I need?
Measure the inside diameter of the hose opening rather than guessing. Most residential garden hoses are 5/8 inch, though 1/2 inch and 3/4 inch hoses show up often enough to catch people out. Bring the hose, or a cut-off section of it, to the store if you’re unsure, since a fitting sized wrong will either not seat properly or won’t seal.
Do I need special tools for a crimp-style fitting?
Yes. Crimp fittings need a crimping tool that compresses a metal sleeve around the hose. Many hardware and hydraulic supply stores rent these by the day, which is worth it if you’re doing more than one repair at a time.
Will a repaired hose end leak under full water pressure?
Not if it’s fully seated and clamped correctly. Test at full pressure before calling the job done, and recheck the clamp after the first few uses, since materials settle slightly once they’ve been through a few pressure cycles.
Is it cheaper to repair or replace a garden hose?
A repair fitting typically costs a few dollars, compared to twenty to sixty dollars or more for a new hose. Unless the hose is old, brittle, or damaged in several spots at once, repairing the end is nearly always the better deal.