
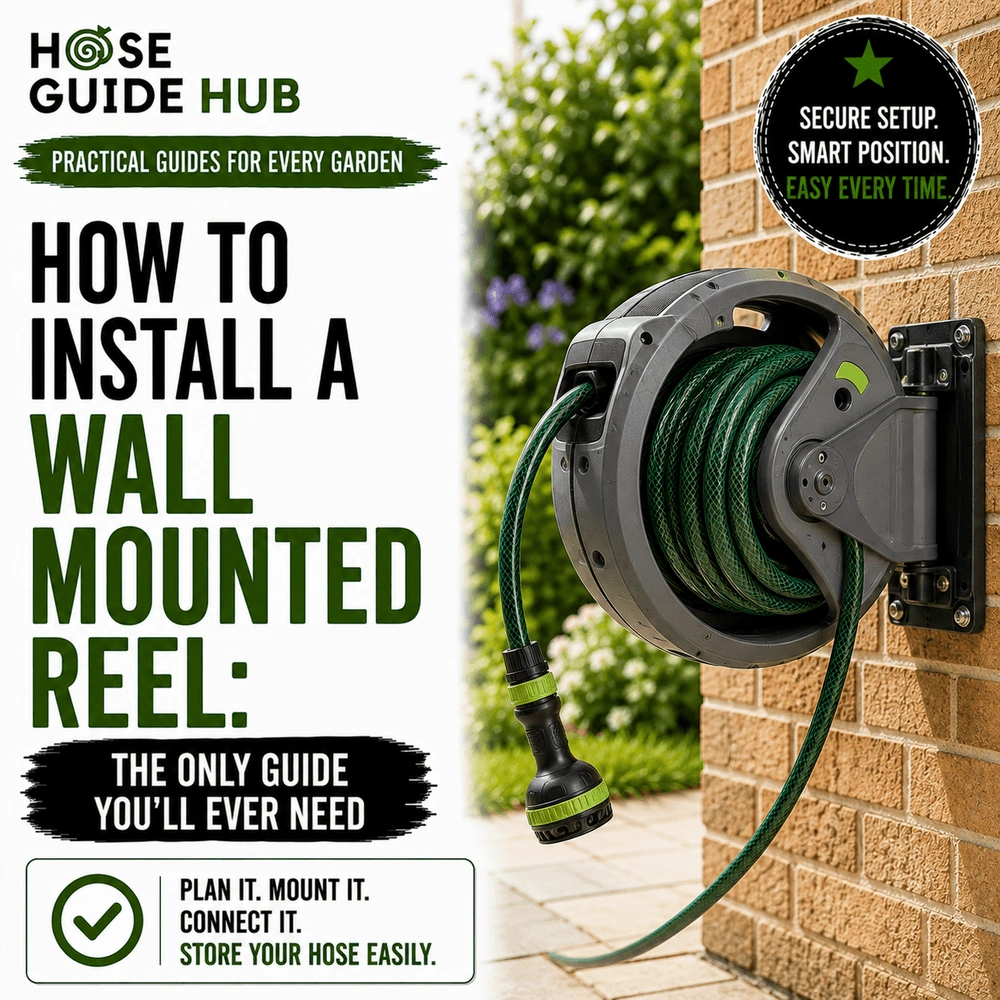
How to Install A Wall Mounted Reel: The Only Guide You’ll Ever Need
Learning how to install a wall mounted reel is one of those jobs that sounds more intimidating than it actually is. Done right, it takes under an hour, costs next to nothing in hardware, and completely changes how your outdoor space looks and functions. Done wrong, the reel pulls out of the wall the first time you tug the hose.
Disclosure: As an Amazon Associate, we earn from qualifying purchases made through links on this site. Learn more.
Why a Wall Mounted Reel Is Worth the Effort
A hose left on the ground degrades faster. UV exposure, foot traffic, and kinking all shorten its life. A wall-mounted reel keeps the hose off the ground, coiled properly, and shielded from most of that wear. It also keeps your outdoor area tidy and the hose accessible without hunting through a shed.
Beyond convenience, a properly installed reel reduces the load on the spigot fitting by supporting the hose weight rather than letting gravity do the work. That matters if you’re running 50 to 100 feet of hose.
Before You Touch the Drill: Three Things to Sort Out First
1. Pick the Right Location
The best spot for your wall mounted reel has three characteristics:
- It’s close to your outdoor tap or spigot, ideally within arm’s reach. The closer the reel is to the water source, the shorter the supply hose needs to be.
- It’s at a height that feels natural when winding and unwinding. Waist to chest height works for most adults. Too low and you’ll be crouching every time you pull the hose out. Too high and winding becomes awkward.
- There’s enough clearance around it for the hose to extend freely without rubbing against corners, fences, or posts.
| Pro tip: Hold the empty bracket against the wall and mimic pulling the hose in every direction. If your arm hits something, the location is wrong before you drill a single hole. |
2. Know Your Wall
Wall type determines everything: which drill bit you use, which fixings you buy, and how confident you can be that the reel won’t come off. A full hose reel loaded with water-filled hose can weigh 20 to 30 pounds or more, so you need solid attachment points.
| Wall Surface | Drill Bit Needed | Anchor Type | Skill Level |
| Timber / Wood Stud | Standard wood bit (1/4″) | No anchor needed, screw into stud | Beginner |
| Brick | Masonry bit (5/16″) | Sleeve anchor or masonry screw | Intermediate |
| Concrete / Block | Masonry or hammer drill bit (5/16″) | Sleeve anchor or expansion bolt | Intermediate |
| Stucco over stud | Masonry bit to pierce stucco, wood bit into stud | Lag screw into stud (longer than supplied) | Intermediate |
| Stucco over masonry | Masonry bit (5/16″) | Sleeve anchor or masonry screw | Intermediate |
3. Check What Comes In the Box
Most reels ship with a mounting bracket, a handful of screws, and sometimes basic wall anchors. The hardware that comes in the box is often on the lighter side. For brick, concrete, or any heavy-duty installation, it’s worth buying sleeve anchors separately from your local hardware store. They grip harder and last longer than the included fasteners.
Tools and Materials You’ll Need
| Tool / Item | Why You Need It |
| Power drill | Drives screws and drills pilot holes |
| Masonry or wood drill bit | Must match your wall material |
| Spirit level | Keeps the bracket perfectly horizontal |
| Stud finder | Locates timber framing inside finished walls |
| Tape measure + pencil | Marks hole positions accurately |
| Adjustable wrench or socket set | Tightens bolts on heavy-duty reels |
| Safety glasses + dust mask | Masonry drilling creates fine debris |
| Shop vacuum or brush | Clears dust from drilled holes before inserting anchors |
One thing that often gets overlooked: thread sealant tape (PTFE or Teflon tape). You’ll need it when connecting the supply hose to the reel’s swivel joint to prevent drips. A roll costs almost nothing and is sold at any hardware store.
How to Install a Wall Mounted Reel: Step-by-Step
Step 1 – Separate the Reel from the Bracket
On most models, the reel body clips or screws onto the mounting bracket. You need to separate them before drilling anything. Look for a retaining screw on the underside of the reel where it meets the bracket. Undo it, and the bracket should lift off cleanly. You’ll mount the bracket to the wall first, then hang the reel on it at the end.
If your reel is a fixed-mount design where the entire unit screws to the wall in one piece, skip this step.
Step 2 – Hold the Bracket Up and Mark the Holes
Press the bracket flat against the wall in your chosen position. Use a spirit level across the top of the bracket to confirm it’s sitting perfectly horizontal. A reel that’s even slightly off-level will tilt when the hose is wound, putting stress on one side of the mount.
With the bracket held level, use a pencil or marker to trace through each mounting hole onto the wall surface. For small hole openings, a pencil tip fits where a marker won’t.
| If your kit includes a paper drilling template, tape it to the wall instead of holding the bracket. Templates are easier to keep level and free up both hands for marking. |
Step 3 – Drill the Holes
This step changes depending on what your wall is made of.
Timber / Wood Stud Walls: Use a stud finder to confirm your marks are actually over studs. Screwing into the wall cavity between studs will not hold. Once confirmed, drill pilot holes with a standard wood bit at 1/4-inch diameter, drilling about 2.5 inches deep.
Brick: Use a 5/16-inch masonry bit. Drill slowly and steadily with consistent pressure. Don’t force it. Aim for holes 1.5 to 2.5 inches deep depending on your anchor size. Try to position holes in the brick face itself rather than the mortar joints, as mortar crumbles more easily. Keep holes at least 1.5 inches from any edge to avoid spalling (chipping at the surface).
Concrete / Masonry Block: A hammer drill makes this much easier than a standard rotary drill. Use a 5/16-inch masonry bit and drill to a depth of at least 2.5 inches. After drilling, vacuum out the dust from every hole before inserting anchors. Loose dust stops anchors from gripping properly.
Stucco over Studs: Stucco is not a structural material. You cannot anchor into stucco alone. Use a masonry bit to pierce through the stucco layer, then switch to a wood bit to drill into the stud behind. Use lag screws long enough to reach solid wood through the stucco thickness, which is typically longer than the screws included in the box.
Step 4 – Insert the Anchors
For masonry walls, tap sleeve anchors into the drilled holes with a hammer until they sit flush. Don’t drive them in at an angle. The anchor should slide in snugly, and the bolt end should protrude from the wall ready to accept a washer and nut.
For concrete screws (an alternative to sleeve anchors), no anchor is needed. The screw threads cut directly into the concrete. Just make sure your pilot hole matches the diameter specified on the concrete screw packaging.
For timber walls, anchors usually aren’t necessary. The lag screws bite directly into the stud.
Step 5 – Mount the Bracket
Hold the bracket back up to the wall, lining up its mounting holes with the anchors or pilot holes. For sleeve anchors, slide the bracket over the protruding bolts. Install a flat washer and lock washer over each bolt, then thread on the nut. Tighten with a wrench until snug. For screws, drive them through the bracket holes and into the wall with a power drill or socket wrench.
The bracket should sit firmly against the wall with zero movement when you push on it. If it wobbles, the anchors or screws haven’t engaged fully. Don’t proceed to hang the reel until the bracket is completely solid.
| Don’t overtighten on brick or stucco. Too much torque can crack the surface around the hole. Tighten until snug, then add a half turn. That’s enough. |
Step 6 – Connect the Supply Hose
Before you hang the reel, connect the supply hose from your tap to the reel’s inlet fitting. Wrap the threaded male connector on the supply hose with two to three layers of PTFE tape, winding in the same direction as the threads (clockwise when viewed from the fitting end). Hand-tighten the connection onto the reel’s swivel joint, then use a wrench to tighten by a further half turn.
Don’t skip the PTFE tape. Even brand-new fittings can seep water at the thread without it.
Step 7 – Hang the Reel and Attach Your Garden Hose
Lift the reel body back onto the bracket and secure the retaining screw you removed in Step 1. Connect your garden hose to the reel’s outlet port, usually at the front or side of the drum. Run the hose through the guide arm, which is the curved channel that controls how the hose feeds on and off the drum.
Wind the hose onto the reel, keeping tension even as you crank. Don’t force it. If the hose bunches on one side, guide it with your free hand while cranking with the other.
Step 8 – Test Before You Call It Done
Turn the tap on and check the supply connection for drips. Check the swivel joint as well, since this is the most common leak point. If anything weeps, turn off the water, dry the fitting, add more PTFE tape, and reconnect.
Pull the hose out fully and retract it several times. It should feed in and out smoothly without kinking or rubbing on the bracket or wall. If an auto-retract reel doesn’t pull the hose back reliably, you may need to adjust spring tension.
Adjusting Auto-Retract Tension
Automatic hose reels have an internal spring that pulls the hose back when you give it a short outward tug. If the retraction feels weak or the hose stops halfway back, the spring tension needs increasing.
Here’s the general method, though your manual will have model-specific details:
- Release all pressure from the system and disconnect the inlet hose.
- Pull out approximately 6 feet (about 2 metres) of hose and engage the reel latch to hold it.
- Wind the drum clockwise by hand until the spring feels firm, then re-latch.
- Reconnect the inlet hose and test retraction. Repeat if needed.
Don’t over-wind the spring. If it feels very stiff and hard to turn, you’ve gone too far and risk damaging the spring mechanism.
Mistakes That Will Cost You Later
- Mounting into the cavity between studs. The reel will pull out under load. Always anchor into solid material.
- Skipping the level. Even a 2-degree tilt is noticeable once the hose is wound and looks wrong for years.
- Using the included hardware on masonry walls without upgrading. The screws that come in the box are fine for wood. For brick or concrete, buy sleeve anchors separately.
- Forgetting PTFE tape on the thread connections. A slow drip that runs down the wall for a season will eventually damage the wall surface.
- Mounting too close to the tap. You need space for the supply hose to connect without kinking at a sharp angle.
- Not clearing dust from drilled holes before inserting anchors. Powdered masonry debris prevents anchors from expanding and gripping correctly.
Troubleshooting Common Problems
| Problem | Likely Cause | Fix |
| Reel wobbles after mounting | Screws not into solid material | Re-locate studs or use heavier anchors |
| Hose doesn’t retract smoothly | Spring tension too loose or too tight | Adjust retraction tension per manufacturer guide |
| Leaking at wall connection | Thread not sealed | Apply PTFE (Teflon) tape to threaded fittings |
| Bracket sits at an angle | Holes not level | Loosen screws, re-level, re-tighten |
| Anchor spins in hole when tightening | Hole drilled too wide | Fill with epoxy anchoring compound, re-drill when cured |
| Brick cracks during drilling | Too much pressure or wrong bit | Use hammer drill on rotary-only mode for delicate brick |
Keeping Your Reel in Good Shape
A wall mounted reel needs very little maintenance, but a few minutes per season extends its life significantly.
- Before winter: drain the hose fully by holding the nozzle end higher than the reel and letting gravity pull the water out. Leaving water in the hose overnight in freezing temperatures expands it and can split the hose.
- Once a year: inspect the swivel joint for corrosion or mineral build-up. A quick wipe with a damp cloth and a drop of silicone lubricant on the joint keeps it turning smoothly.
- Check the mounting screws each spring. Outdoor temperature cycles cause metal fixings to expand and contract, which can loosen screws over time. One turn of a screwdriver once a year is all it takes.
- If the reel housing is plastic, avoid spraying it with harsh chemical cleaners. A mild soap and water wipe is enough.
Quick Answers to Common Questions
Can I install a wall mounted reel on stucco?
Yes, but you must anchor into the structure behind the stucco, not the stucco itself. If there are timber studs behind, use lag screws long enough to reach solid wood. If there’s masonry behind the stucco, use sleeve anchors and a masonry bit. Anchoring into stucco alone will result in the reel falling off.
What height should I mount the reel at?
Waist to chest height suits most adults. That’s roughly 3 to 4.5 feet (90 to 135 cm) from the ground to the centre of the reel. Mount it any higher and winding becomes awkward. Mount it lower and you’ll be bent over every time you use it.
Do I need a plumber to connect the water supply?
No. The supply hose connection is a standard threaded garden fitting that connects to your existing outdoor tap. It requires no cutting of pipes or modification of plumbing. If you can change a garden hose, you can make this connection.
Can a wall mounted reel hold 100 feet of hose?
Some can, some can’t. Check the reel’s rated capacity before buying. Many standard residential reels hold 50 to 75 feet of 1/2-inch hose. Heavy-duty models, particularly those designed for workshop or commercial use, can handle up to 100 feet or more.
What’s the difference between a manual and auto-retract wall mounted reel?
A manual reel requires you to crank the hose back onto the drum by hand. An auto-retract reel uses an internal spring to pull the hose back when you give it a short tug. Auto-retract is more convenient but has more moving parts and costs more. For heavy hoses or high-frequency use, auto-retract earns its price. For occasional use, manual is reliable and simpler.
One Last Check Before You Walk Away
Go back through this quick checklist once the job looks done:
- Bracket is level with zero movement when pushed firmly.
- All screws and bolts are tight.
- Supply hose connection has PTFE tape and shows no drips after the water is turned on.
- Hose feeds on and off the drum smoothly without kinking.
- Auto-retract (if applicable) pulls the hose back without stopping midway.
- Clearance around the reel allows full hose extension in the direction you’ll use it.
That’s the whole job. It’s not complicated once you know the wall-type variables, use the right anchors, and take ten minutes to get the bracket level before drilling. Most people who struggle with this installation either anchored into hollow wall sections or skipped the level, and both problems are easy to avoid.
Check out the best garden hose reel cart post.