
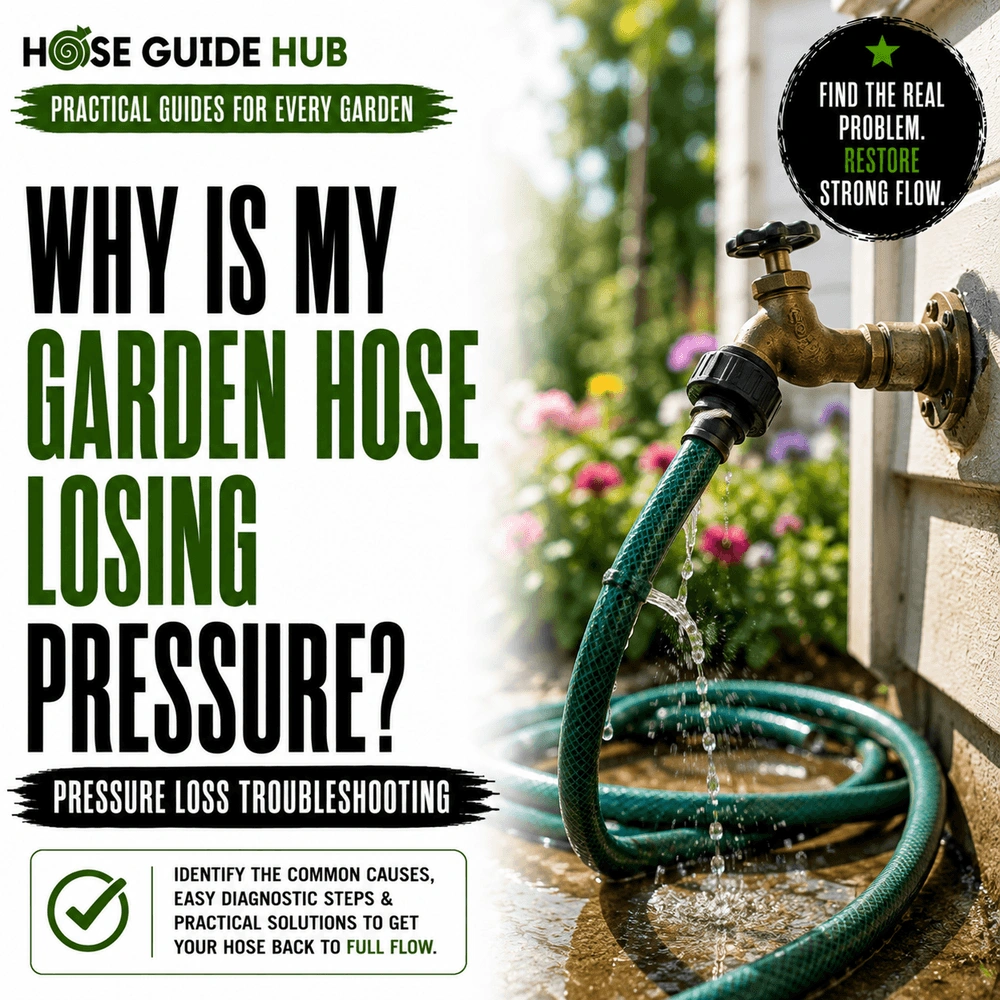
Why Is My Garden Hose Losing Pressure? Pressure Loss Troubleshooting
You turn on the tap, hose in hand, ready to rinse the car or water the tomatoes, and what comes out is a sad trickle instead of a jet. Search “why is my garden hose losing pressure” and you’ll find a hundred generic answers, but the real fix depends on where in the system the water is losing its push. It could be twenty feet of hose wound around a corner, a washer that’s been sitting in a shed since 2019, or a neighbour’s sprinkler running full blast on the same street main. This guide walks through every likely cause in the order you should actually check them, so you stop guessing and start fixing.
Disclosure: As an Amazon Associate, we earn from qualifying purchases made through links on this site. Learn more.
Start at the Source Before You Blame the Hose
Before touching the hose itself, rule out the tap and the house’s plumbing. A hose can only ever pass along the pressure it’s given, it can’t manufacture more on its own.
Turn On the Tap First, Hose Second
Disconnect the hose completely and hold a bucket under the outdoor tap. Turn it on fully for ten seconds. If the water barely fills a two litre bottle in that time, the problem starts at the source, not in the hose, the fittings, or the nozzle. A healthy outdoor tap on mains pressure should fill a standard bucket in under fifteen seconds.
Check What Else Is Running in the House
Dishwashers, washing machines, and a shower running at the same time all pull from the same supply line. In older homes with narrow supply pipes, watering the garden while someone showers indoors can cut outdoor flow by half or more. Test the hose again once nothing else in the house is using water.
Kinks Are the Number One Pressure Killer
Most calls about pressure loss end here. A single sharp bend can drop flow more than any leak or worn washer ever will.
Garden hoses are built to bend, but a kink is different from a bend. A kink is a fold tight enough to partially or fully collapse the internal channel. Water still gets through on the low pressure side of it, so the whole hose can seem weak when really it’s one twelve inch section pinched flat.
Where Hoses Kink the Most
- Right where the hose meets the tap connector, especially if it’s coiled tightly on a wall mount
- At corners of raised beds, fences, or garden furniture
- Inside cheap plastic reels that store the hose in tight loops
- Near the nozzle end, from being dragged around obstacles
How to Spot a Kink You Can’t See
Run the hose out in a straight line on open ground with the water off, then turn the tap on and walk the length of it. You’ll usually see the hose bulge and stiffen right up to the kink point, then go slack past it. Straighten that section by hand and feel for weak spots in the wall, repeated kinking in the same place thins the material over time and eventually splits it.
Quick fixes:
- Swap to a kink resistant or reinforced core hose if the same spot keeps folding
- Add a corner guide at any point where the hose has to turn a tight angle
- Store on a reel with a wide enough diameter that the hose isn’t forced into a tight curl
Leaks Are the Silent Pressure Thief
A hose doesn’t need a visible spray to be losing water. Small leaks often just show up as damp patches on the ground and a nozzle that never quite reaches full force.
Pinhole Leaks Along the Hose Wall
UV exposure, age, and being dragged over gravel or concrete all wear down the outer layer of a hose. Small holes let water escape steadily along the length rather than at the ends, so pressure at the nozzle drops even though the hose looks intact.
To find one, pressurise the hose while it’s laid out flat and run your hand along the top surface. A fine spray or a wet patch that keeps reappearing after you dry it points to a pinhole.
Cracks Near the End Fittings
The section right behind the brass or plastic connector flexes constantly and takes the most strain. This is where hoses crack first, particularly on older hoses or ones left connected and pressurised for long periods.
| Leak Location | Likely Cause | Typical Fix |
| Along the middle of the hose | UV damage, abrasion from dragging | Repair kit patch, or replace hose if damage is widespread |
| Right behind the fittings | Repeated flexing, stress cracking | Cut off the damaged section and refit the connector |
| At the tap connection | Worn washer, loose thread | Replace the washer, retighten by hand |
| At the nozzle connection | Worn washer, cross threading | Replace the washer, realign the thread |
Fitting Problems and Washer Wear
Fittings get blamed less often than they should. A hose can be in perfect condition and still lose most of its pressure at a loose or worn connection.
The Washer Nobody Checks
Every threaded connection point, tap to hose, hose to extension, hose to nozzle, relies on a small rubber washer to seal the joint. These washers harden and crack with age, and once they do, water sprays sideways out of the joint instead of continuing down the hose. This is one of the cheapest and most overlooked fixes in this whole guide.
Cross Threaded or Mismatched Connectors
Mixing hose brands, pairing an old brass fitting with a new plastic one, or forcing a connection that doesn’t quite match the thread pitch all cause a partial seal. The joint might hold water back well enough that you don’t see an obvious spray, but it still bleeds pressure with every use.
Fitting checklist:
- Remove each connector and inspect the washer for cracking, flattening, or one that’s missing entirely
- Check that threads match on both sides of every join, this matters more with adapters and mixed brand setups
- Hand tighten fully, then give a quarter turn with pliers, overtightening can crack plastic fittings
- Wrap plumber’s tape around metal threads if a connection still weeps after a new washer
Nozzle and Spray Gun Blockages
If the tap tests fine and the hose has no kinks or leaks, the restriction is often at the very end, inside the nozzle itself.
Grit, Sand and Mineral Buildup
Hard water leaves mineral deposits inside the small holes of a spray head over time, and if the hose has ever drawn from a rain barrel or outdoor tank, sediment builds up the same way. The nozzle looks fine on the outside while the internal channels stay narrower than they should be.
Soak the nozzle head in a mix of water and white vinegar for thirty minutes, then clear each hole individually with a pin or a fine wire. Rinse well before reattaching.
Cheap Nozzles That Restrict Flow
Some multi pattern nozzles are built with narrow internal chambers that throttle flow no matter how much pressure reaches them. If pressure feels strong right up to the nozzle, test this by removing it and letting water run freely from the open hose end, then the nozzle itself is the bottleneck, not anything upstream.
Hose Diameter and Length Working Against You
Even a hose with zero faults loses pressure over distance, and the drop off is bigger than most people expect. Friction inside the hose slows water down the further it has to travel, and a narrower diameter multiplies that effect.
| Hose Diameter | Flow at 50 Feet | Flow at 100 Feet |
| 1/2 inch | Noticeably reduced | Significant drop |
| 5/8 inch | Good | Moderate drop |
| 3/4 inch | Strong | Good |
A half inch hose is fine for a short run to a nearby flower bed, but stretched a hundred feet across a large garden it will always underperform a 5/8 or 3/4 inch hose on the same tap. If you’ve recently switched to a longer hose or added an extension, the problem might just be physics rather than a fault anywhere in the system.
When It Really Is Mains Pressure
Sometimes every part of the hose system checks out and the water is still weak. At that point the issue sits further back, in the household or municipal supply.
Signs It’s Not the Hose at All
- Indoor taps also run weaker than they used to
- The bucket test at the outdoor tap comes back slow even with a brand new, unkinked, short hose attached
- Pressure has dropped gradually over weeks or months rather than appearing suddenly
Time of Day and Demand
Mains pressure genuinely fluctuates. Early evening, when most of a street is cooking dinner and running showers, is often the weakest window for outdoor taps. Testing at a different time of day is a fast way to rule this out.
What a Pressure Reducing Valve or Booster Pump Can and Can’t Fix
A pressure reducing valve controls pressure that’s too high, it won’t help low pressure. If mains pressure is genuinely low, a booster pump fitted to the outdoor line is the realistic fix, though a plumber should confirm the cause first, a partially closed stopcock, an old narrow supply pipe, or a genuine local supply issue, before adding equipment to work around it.
A Step by Step Troubleshooting Order
Work through these in order rather than jumping around. Each step rules out one part of the system before you move to the next.
- Disconnect the hose and bucket test the bare tap
- Reconnect the hose and run it out completely straight
- Check every fitting and washer along the length
- Inspect the full length of hose for kinks, bulges, and damp patches
- Remove the nozzle and test flow from the open hose end
- Clean or replace the nozzle if flow was strong without it
- If everything checks out, retest at a different time of day
Quick Reference: Symptom, Cause, Fix
| Symptom | Likely Cause | Fix |
| Strong at the tap, weak at the nozzle | Kink somewhere along the hose | Straighten the hose, check for a stiff, bulging section |
| Damp patch under the hose while running | Pinhole leak or worn fitting | Locate the wet spot, patch or replace that section |
| Spray at a connector joint | Worn or missing washer | Replace the washer, check thread match |
| Weak everywhere, even at the tap | Mains pressure or supply issue | Bucket test, check timing, consider a booster pump |
| Fine flow without nozzle, weak with it | Blocked or restrictive nozzle | Clean with vinegar soak or replace the nozzle |
Keeping Pressure Loss From Coming Back
- Drain and coil the hose loosely after each use rather than jamming it into a tight reel
- Keep it out of direct sun when not in use, UV breaks down the outer layer faster than almost anything else
- Replace washers as routine maintenance once a year, not only when a leak shows up
- Use a hose guide at any fixed corner the hose has to pass around regularly
- Match hose diameter to the distance you actually need to cover, not the cheapest option on the shelf
Most pressure problems trace back to one of a handful of causes, and working through them in order is faster than replacing the whole hose and hoping for the best. Start at the tap, work your way down the hose, and the culprit usually shows itself well before you reach the nozzle.
See our ultimate Gardena hose reel review.