
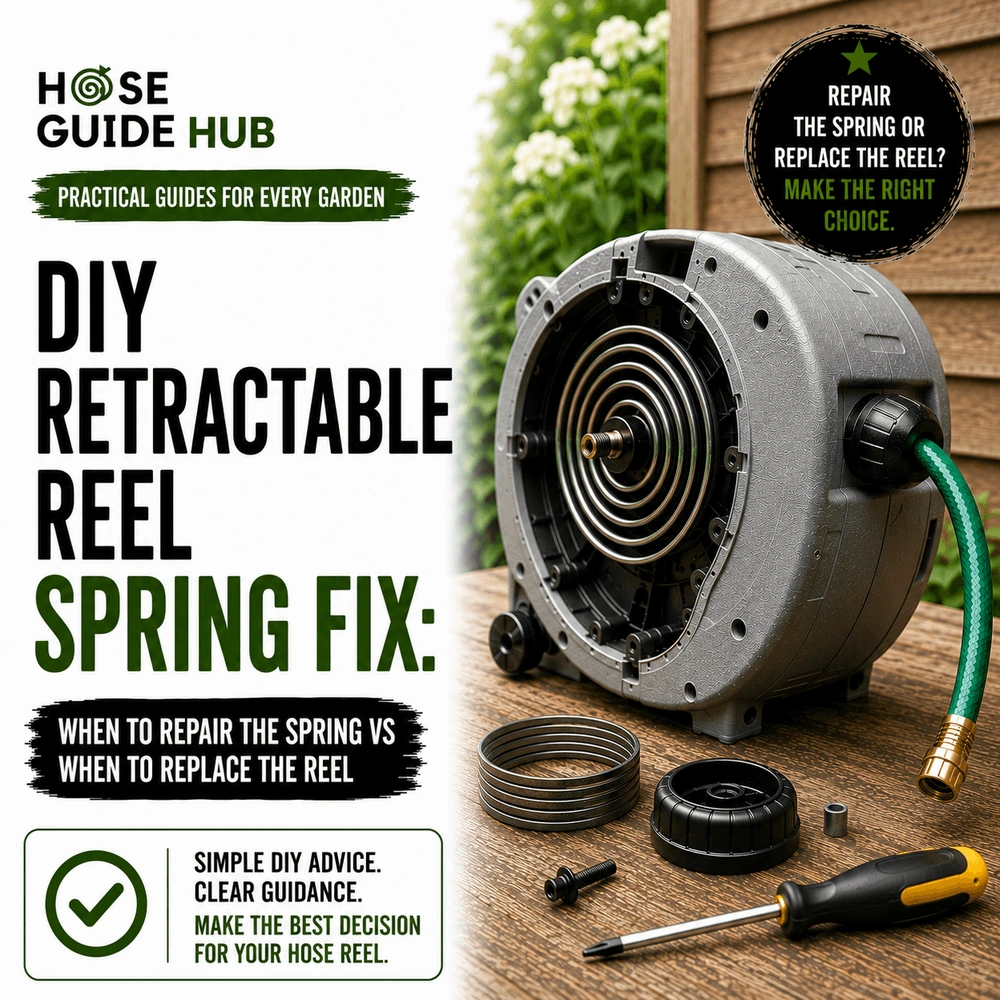
DIY Retractable Reel Spring Fix: When to Repair the Spring vs When to Replace the Reel
Your retractable hose reel stops pulling the hose back, or it slams back so fast it nearly clips your knuckles on the way. Before you drag the whole thing to the curb, know this: a hose reel spring replacement is usually a fifteen to thirty minute fix, and it costs far less than a new reel. The catch is that not every dead reel has a dead spring. Cracked drums, stripped ratchets, and seized axles all mimic the same symptom, a hose that won’t retract, and no amount of spring swapping fixes those. This guide walks through how to tell the difference, and how to actually do the swap once you know it’s the spring.
Disclosure: As an Amazon Associate, we earn from qualifying purchases made through links on this site. Learn more.
What’s Actually Happening Inside That Reel
Every retractable reel, wall mounted, cart style, or boxed into an enclosure, runs on the same three parts. Knowing them makes diagnosis faster than any troubleshooting flowchart could.
The spring
Most reels use a flat coiled spring, sometimes called a clock spring or a power spring, wound tight inside the hub at the center of the drum. One end anchors to the hub, the other to the drum itself. Pull the hose out and you’re winding that spring tighter. Let go and it unwinds, dragging the hose back in with it. Heavier duty reels, especially air hose and welding cable reels, sometimes use a torsion spring instead, which works on the same principle but coils around a shaft rather than sitting flat.
The ratchet and pawl
On manual lock reels, a ratchet wheel with a spring loaded pawl lets you pull the hose to a set length, hear a click, and have it hold there. Tug again past that point and the pawl disengages, letting the spring pull everything back in. If your reel holds at random lengths instead of a specific click point, or won’t hold at all, the ratchet teeth or the pawl spring, not the main coil spring, is usually the problem.
The drum and guide arm
The drum is the spool the hose wraps around. A bent or cracked drum throws the hose off center as it winds, which strains the spring and can snap it well before its time. A worn guide arm causes something similar, letting the hose stack unevenly and jam against the housing.
The Symptoms That Point to the Spring
Match what your reel is doing against the table below before you take anything apart.
| Symptom | Likely cause |
| Hose pulls out fine but won’t retract at all | Broken or fully unwound spring |
| Hose retracts partway then stops | Weak spring, or it has slipped off its anchor |
| Loud snap or bang, then the hose won’t move | Spring physically broken |
| Hose retracts, but far too fast and hard | Spring over-tensioned or brake worn |
| Grinding noise, but hose still retracts fine | Dry or rusted bearings, not the spring |
| Hose retracts but won’t hold at set lengths | Ratchet or pawl issue, not the spring |
| Drum wobbles or hose winds crooked | Drum or guide arm, not the spring |
Hose Reel Spring Replacement, Step by Step
Once you’ve confirmed the spring is the culprit, the job itself is mechanical, not technical. Here’s how most reels come apart.
Tools you’ll need
- Phillips and flathead screwdrivers
- Adjustable wrench or socket set
- Thick work gloves
- Safety glasses
- Locking pliers or a vice grip
- A rag or towel in case the spring lets go early
- A replacement spring rated for your reel’s hose length and diameter
Releasing tension safely
A wound reel spring stores real force, and plenty of people have been hurt treating this step casually. Before removing anything, pull the hose out fully so the spring sits at its most unwound state, then engage the ratchet lock if your reel has one. Never remove the side panel or hub cover while the drum can still spin freely.
- Unscrew and remove the outer housing or side cover, keeping the screws sorted since reels often use two or three different lengths.
- Locate the spring cassette or hub. Some reels house the spring in a sealed plastic cartridge you swap as a whole unit, which is safer and faster. Others expose the coiled spring directly.
- If it’s a cartridge, unclip or unbolt it from the drum and lift it straight out.
- If it’s an exposed coil, clamp the drum with locking pliers first so it can’t spin, then carefully unhook the spring’s outer end from the drum wall.
- Bleed off any remaining tension slowly, letting the drum rotate a controlled quarter turn at a time and never letting go of it entirely.
Fitting the new spring
- Hook the new spring’s inner end onto the hub, in exactly the spot the old one sat.
- Wind the spring by hand in the same direction the old one was wound (check this before removing the old spring, or snap a photo first).
- Hook the outer end onto the drum wall.
- Refit the housing and screws.
Resetting tension and testing
Pull the hose out fully and let it retract on its own several times before trusting it with a full length hose again. If it retracts too weakly, some reels allow a few extra turns of pre-tension before final assembly. If it slams too hard, back off a turn or two. Test at full extension, since a spring that feels right at half length can still be wrong at the far end.
When the Spring Isn’t the Real Problem
Cracked or split drum
A hairline crack in a plastic drum spreads a little more every time the spring loads it. If you see stress marks radiating out from the hub mount, a fresh spring buys you a few weeks before the crack fails again anyway.
Stripped ratchet teeth
Sanded down or chipped ratchet teeth mean the reel won’t lock at any length, even with a brand new spring installed. Some manufacturers sell the ratchet wheel on its own; on cheaper reels it’s molded into the drum, which means replacing it means replacing the whole drum.
Bent axle or warped frame
If the drum doesn’t spin true, wobbling side to side as it turns, the frame or axle has bent, usually from the reel getting knocked over or loaded with more hose than it’s rated for. A new spring won’t straighten bent metal.
Corroded housing
Reels left outside through wet winters often seize at the axle bearings. Light surface rust cleans up fine with steel wool and grease. Rust that’s pitted into the metal or fused a bearing solid is a sign the frame is on its way out, regardless of what the spring looks like.
Repair or Replace: A Quick Reference
| Situation | Best move |
| Spring is snapped or fully unwound, everything else spins freely | Replace the spring |
| Reel retracts, but slower or weaker than it used to | Replace the spring |
| Drum has visible cracks or stress fractures | Replace the reel |
| Ratchet teeth are stripped or missing | Replace the reel, or the ratchet wheel if sold separately |
| Frame is bent or the axle doesn’t spin true | Replace the reel |
| Housing rust is surface level only | Clean it up and reuse; the spring is likely fine |
| Reel is old and several parts are worn at once | Replace the reel |
Getting the Right Spring for Your Reel
Match brand and model first
Manufacturers rate springs to the exact hose length and diameter the reel was built to carry. A spring pulled from a 50 foot reel won’t provide enough force for a 100 foot one, and an oversized spring on a small reel can crack the drum on the first pull. Search by your reel’s brand and model number before buying anything generic.
Measure it yourself when there’s no exact match
- Coil width, meaning how wide the flat spring strip actually is
- Wire or strip thickness
- Total wound length when fully extended
- The reel’s hose capacity in feet, and hose diameter in inches
OEM versus generic
A spring made for your exact model fits the anchor points without modification and matches the tension the drum and ratchet were designed around. Generic or universal springs work fine on plenty of reels, but check the anchor hook shape and coil direction, left wound versus right wound, before ordering. A mismatched wind direction fights the ratchet instead of working with it.
Keeping It From Happening Again
- Let the hose retract under control instead of yanking it out and letting the reel absorb the impact
- Keep the drum and guide arm free of grit and sand, which wear the spring’s anchor points faster than tension ever does
- Store outdoor reels under cover through winter if rust has been a recurring issue
- Check the housing screws twice a year, since a loose panel lets the drum wobble and stresses the spring unevenly
- Avoid overfilling a reel with more hose than it’s rated for, which keeps the spring permanently over-tensioned
Common Questions
Can I just lubricate a squeaky reel instead of replacing the spring?
Sometimes. A dry or noisy reel that still retracts with normal force usually needs grease on the axle and hub, not a new spring. Save the spring swap for reels that have actually lost tension or snapped outright.
How long does a hose reel spring replacement actually take?
Most reels with a cartridge style spring take fifteen to twenty minutes. Reels with an exposed coil spring take longer, closer to thirty or forty five minutes, mostly because of the extra care needed to control the tension safely.
Is this actually safe to do myself?
Yes, as long as you respect the stored tension in the spring and never remove a housing panel while the drum can still spin freely. Gloves and eye protection aren’t overkill here, a spring that slips while under load can move fast enough to cause a real cut.
Can I substitute a different spring type if I can’t find an exact match?
Only if the wind direction, coil width, and tension rating are close. A spring built for a different hose capacity either retracts too weakly to be useful or overloads the drum. When in doubt, measure the old spring before it goes in the bin, not after.
See our commercial water hose reel post.